Left 4 Dead 2
After Dark
Project Summary
Game: Left 4 Dead 2 / Hammer (Source)
Development Time: 6 Month
Team Size: Solo project
Playtime: 20 - 30 Minutes
After Dark is a three-chapter custom Campaign made for Left 4 Dead 2. This map is an artifact for my Master’s thesis “Prospect and Refuge: Modulating Level Pacing through Spatial Composition”. This project explores the use of Prospect and Refuge spaces within a level. The goal is to reveal the subtle influence of spatial composition on level pacing & player psychology.

Over 16k subscribers on Steam!
Other Materials:

Gallery

Preproduction Focus
Pacing Consideration
Map Theme and Reference

1. Pacing Consideration
Since this campaign is designed for studying level pacing, the 1st thing I considered when designing the 2D layout of this campaign is pacing.
Establish an Ideal Pacing Curve
In the initial design of the 2D map, each section of the map is given an expected pacing intensity, color-coded by green (low pacing), yellow (low-medium pacing), orange (medium-high pacing) and red (high pacing). The 1st chapter has more low-medium paced spaces, while the 3rd chapter has more medium-high paced spaces. The overall pacing is expected to increase throughout the first two maps and reach a climax at the 3rd map.

Measuring Pacing
Pacing for each area of the map is further broken down into 4 elements – Threat (measure actual danger/threat), Tension (perception of threat), Tempo (Intensity of action) and Movement Impetus (Player’s motivation to move). The overall pacing value for each section is the sum of these 4 values.

Based on the pacing intensity calculation for each section of the map, an ideal pacing chart for the whole campaign is created from this Excel data table.


2. Map Theme and Reference
Map Theme & Reference
The overall aesthetic of this map is another focus in my preproduction process, because I'll have to build the map from whitebox to completion, do all the lighting & decoration on my own, I had to come up with a concrete vision for the map that is not super complicated to achieve within a short amount of time.
I chose the shopping mall and its surrounding environment for this campaign, because (1) it was easy to find real-life references, and (2) there're plenty of mall related assets being used in the official campaign Dead Center.

I mianly used Miro Board to collect reference images, especially for locations that have relatively complicated construction or for places I was unfamiliar with. I also used ArtStation and Pinterest for inspiration, and looked at a lot of official L4D2 maps to imitate their map construction.
Overall, my goal was creating a believable environment with multiple distinct and memorable locations.

Production Focus - Combat and Layout Design

1. Overcoming Combat Design Challenges Presented by AI Director
One major challenge that prevents the campaign from achieving the ideal pacing curve is the AI Director system used in the L4D2 series. Unlike game engines which allow the designer to manually place and spawn enemies, L4D2’s enemy spawn is controlled by an AI system known as the “Director”. While I can place some enemies manually, most spawns and their locations are managed by the Director, limiting direct control over combat pacing.
What I did to gain some control over pacing and combat encounter is (1) Create high-pacing moment through scripted encounters and (2) Reduce the possibility of unwanted enemy ambush initiated by the Director.
# 1 Create High-pacing moments through scripted encounters
Example #1
-
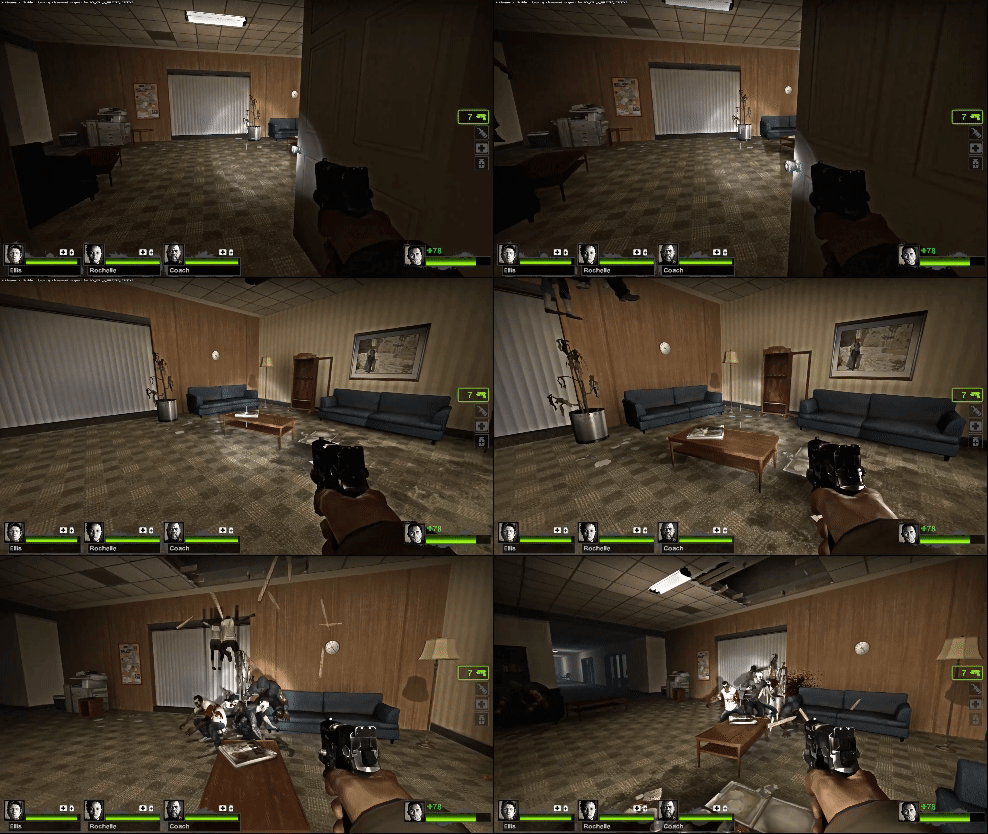
Using breakable to create Enemy ambush attack from the ceiling
Example #2
-
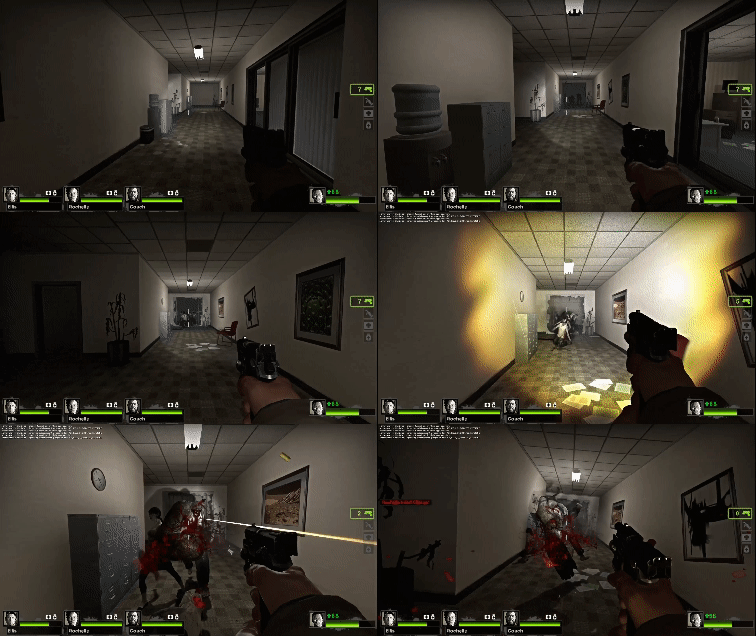
Breakable wall + Charger enemy rushing into a narrow hallway.


# 2 Reduce the possibility of unwanted enemy ambush initiated by the Director
Example #1
-
Navmesh volumes (func_nav_attribute_region) are being used to prevent zombie spawning at unwanted places.
-
In the image below, the orange volumes are placed in non-playable areas to prevent enemy spawn.
Example #2
-
I also used Navblockers to block unopened doors so the enemies are not breaking down the door before the player arrive at a specific location.


2. Creating Memorable Crescendo Event (Level Climax)
Crescendo Event in Left 4 Dead 2 is a scripted event with never-ending zombie waves (until the player takes a certain action/meet the requirement to end the event). Crescendo event acts as mini-climax for levels before the Finale and acts as a pacing "accelerator" that quickly bring player tension level and gameplay intensity to their climax.
-
Because I want each chapter to end on a High note, I designed 3 distinct Crescendo events for each chapter ending. I managed to make each one feel completely different yet memorable by using the following design methods:
# 1 Providing players with different objectives
The Objectives/Requirement to end Crescendo Event is different in each chapter.
Example #1 Food Court - Disable an Alarm
-
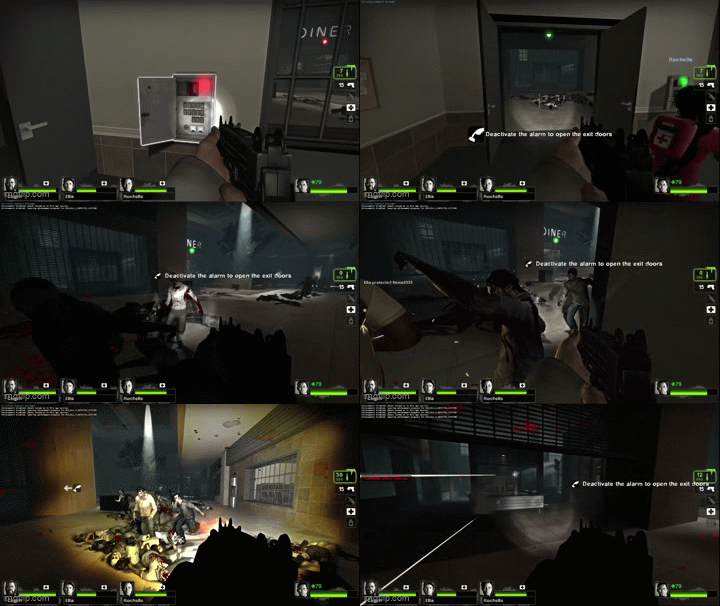
Chapter 1 ends with a an Alarm Event. unlocking the gate to the Food court triggers an alarm that calls for infinite zombie waves. The player has to go through the dark Food court and disable the alarm to stop the event.

Example #2 Atrium - Defend a position
-
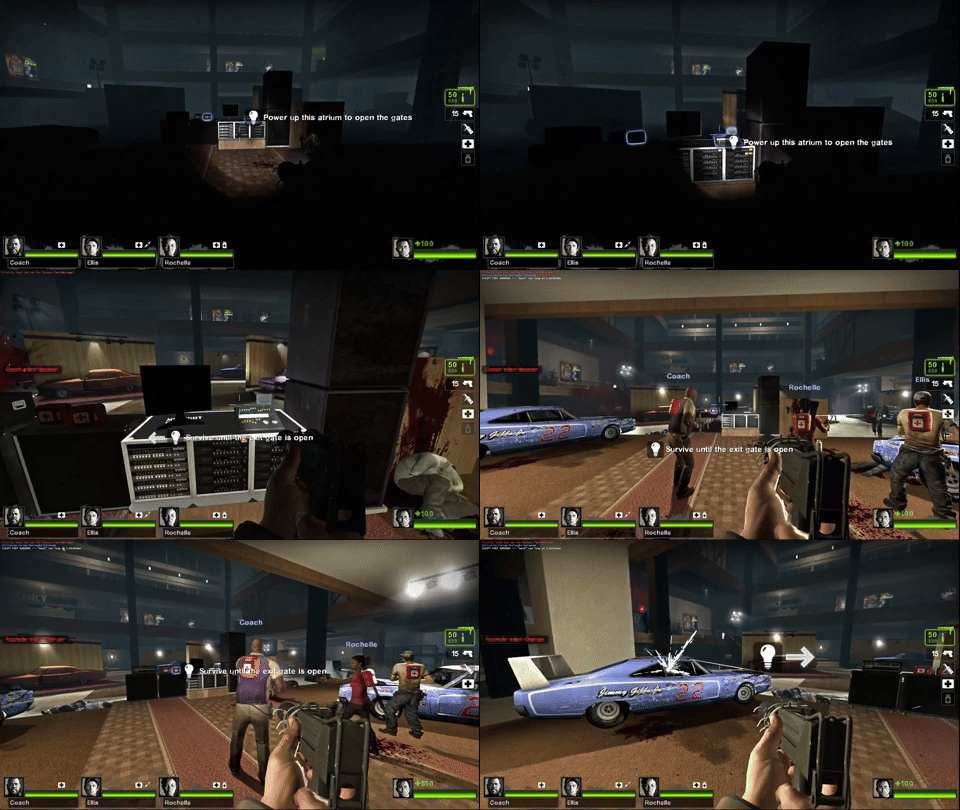
Chapter 2 ends with a Defend/Survive event. The player has to turn on the lights in the Atrium and survive until the powered gate is opened.

Example #3 Plaza - Power up the Radio and Survive until Rescue
-
Chapter 3 has three objectives: find and turn on 2 power switches, use the Radio to call for rescue, and then survive until the Rescue Boat arrives.

# 2 Making the Flow of each layout feel different
Example #1 Food Court
-
In this layout I used Navigational challenges/obstacles + Time Limit to increase the player's tension level.
-
The Food court is dark with many small obstacles (tables and chairs) that hinder the player's movement, the player is forced to navigate through this area, fight zombies and find the alarm.


Example #2 The Atrium
-
The Atrium used a layout similar to The Concert made for an Holdout event. The player is given a small defensive space (Stage), while the enemies are given multiple spawn locations surrouding the stage.


Example #3 The Plaza
-
The 3rd and final Finale layout is designed as a battle arena. The layout provides multiple defensive locations and allows the player to rotate around them using paths and covers.


3. Designing Arena Layout that encourages Player Movement and Flow
The Final Chapter/Map of this campaign is designed as an Arena space with an emphasis on player movement and flow. The layout is designed to encourage players to continually seek temporary shelters and move around the battlefield instead of settling in a permanent shelter.
I used multiple techniques to achieve my design goal, here are some examples:
# 1 Half - opened space that is difficult to hold/defend.
Though there're a few "shelter" like space in this map, they do not invite the player to stay because none of them is completely protected. All of them have multiple entrances/exits, making it easy for enemies to get in & hard for players to defend.


# 2 Low covers & Circular Covers
Low Covers
-
Unlike full covers, low covers incentivize players to move by providing visibility into the battlefield. The player is always aware of incoming enemies in the distance & is prepared to leave the cover if anything alerts them.
-
Tables, crates, and fences are used very often in this map.
Circular Covers
-
Similarly, circular covers provide cover only when the player is moving around it.
-
Here I used Carousel as one big circular cover.


# 3 Elevation
-
The layout includes platforms of varying heights. Players can use these height differences to create space between themselves and their enemies. Though common zombies can climb, smart players can gain an advantage during the intervals when the zombies are performing their climbing animations.
-
Changes in elevation encourages players to move by providing advantages that are otherwise unattainable if they remain in one place.

# 4 Using Loot to incentivize movement
Multiple Pickup Locations
-
Pickups are placed in different areas of the map to incentivize movement, if players only stay at one location they’ll eventually run out of health kit or grenades.

Ammo Pile Locations
-
Ammo is another important factor that dictates whether the player is going to stay and defend a location or move around.
-
In order to encourage movement, I placed ammo pile at areas that were relatively open and had the least amount of covers. (Making it impossible for them to defend safely).


